Project Level Permissions
Last updated: September 24, 2026
Background
Project Level Permissions give admins clear control over who can access what across their organization. Every permission has two parts: the access level (where it applies: Organization, Team, or Project) and the role (what the user can do there). Access flows from the top down. A role granted at the organization level applies to every team and project under it, and a team-level role applies to every project on that team. Admins can also make sensitive projects Invite-only, invite new users as Unassigned before their project assignments are known, and check the Permission Chart at any time to see exactly what a role can do. Each person sees only the work that's relevant to them, and confidential projects stay confidential.
Things to Consider
Access only adds up. A user's permissions are the combination of every role they hold at or above a given level. A project-level role can raise someone's access but can't lower it.
Invite-only works at the project level only. You can't hide individual folders or documents inside a project.
Who can change visibility: only Project Admins, Team Admins, and Org Admins can switch a project between Team and Invite-only.
There's no combined view of one user's access. Admins can see each role a user holds at each level, but not a single summary of everything that user can reach.
"View all projects" is a standalone right, not a role. It lets someone see every project in the organization and grants nothing beyond visibility.
Steps
Assign a role at the organization level
Go to Organization Settings → Users.
Find the user, or invite them if they aren't in the organization yet.
Open their role picker, either in the table or in the permission drawer, and choose a default or custom role.
The role takes effect right away and applies to every team and project in the organization.
Tip: You don't need to add org-level users to each team or project separately. Only add a team or project role if you want to give them more access in a specific place.
Assign a role at the team level
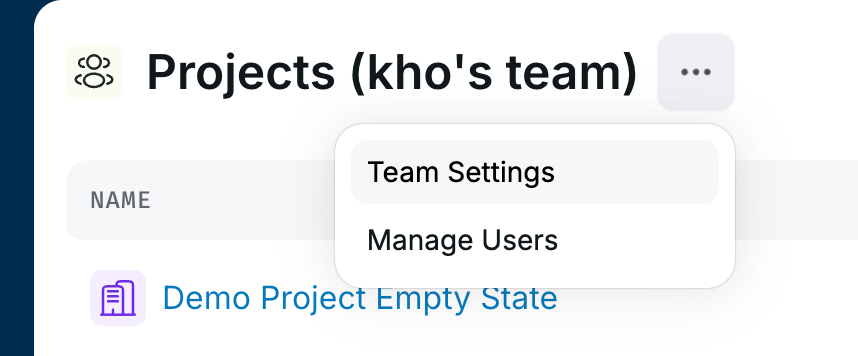
On the Projects page, click the … menu in the header and select Team Settings.
Go to the Users tab.
Find the user and open their role picker in the table or the permission drawer.
Select a role. It applies to every project on that team.
Tip: To give someone more access on one specific project, add a project-level role as well (see below).
Assign a role at the project level
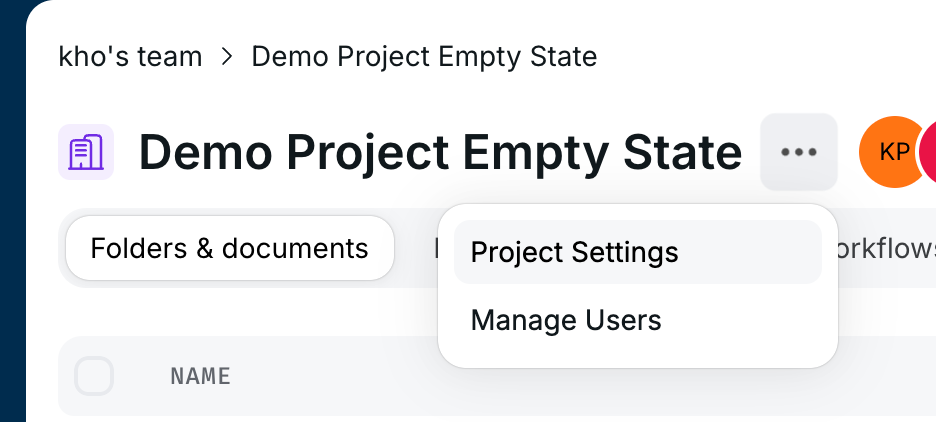
Open the project, click the … menu in the header, and select Project Settings.
Go to the Users tab.
Find the user and open their role picker in the table or the permission drawer.
Select a role. It applies to this project only.
Tip: This is the best way to give a subcontractor or outside partner access to specific projects without adding them to the whole team.
Make a project Invite-only
Open the project, click the … menu in the header, and select Project Settings.
Find the Visibility setting. It's set to Team by default.
Switch it to Invite-only.
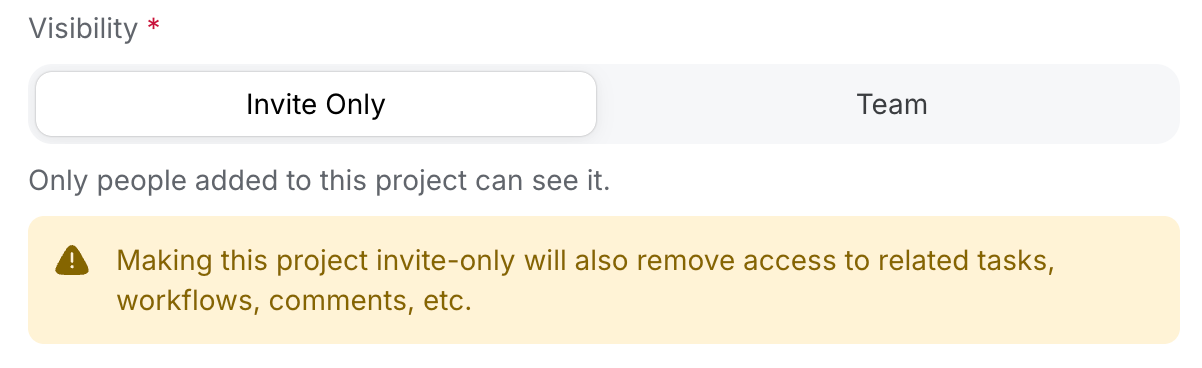
The project immediately disappears from the project list, search, chat, and exports for anyone who isn't a project member. Org Admins and Team Admins can still see it.
To make it visible to the whole team again, switch Visibility back to Team. All data and memberships stay as they were.
Invite a user with the Unassigned role
Go to Organization Settings → Users.
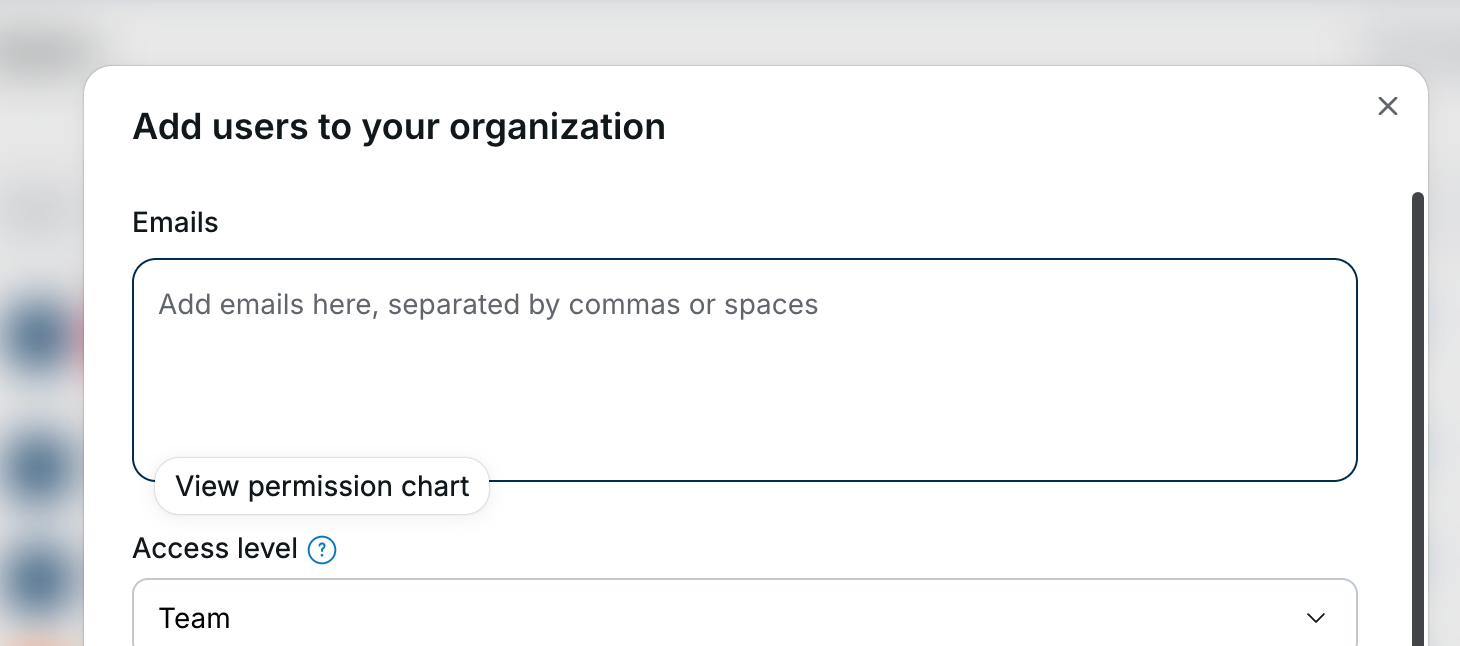
Click Invite Users and enter the user's email.
Select Unassigned as the access level.
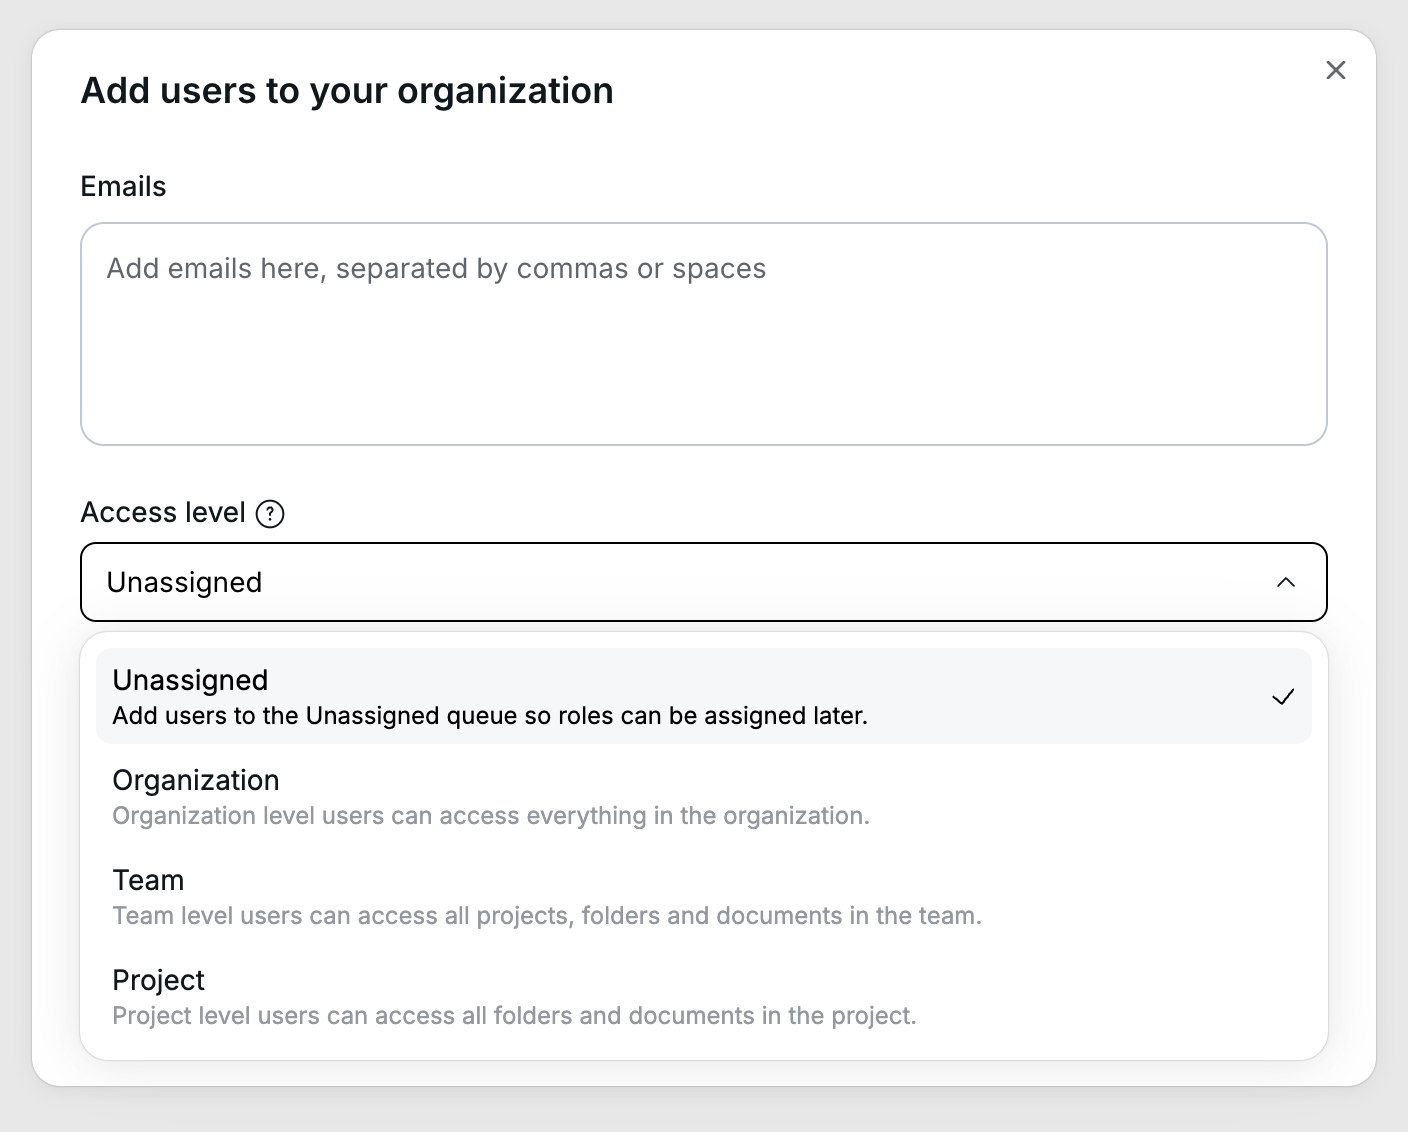
Send the invite. The user gets an email to accept the invite and set up their account.
The user shows as Unassigned in the Users table until an admin gives them a role.
Assign a role to an Unassigned user
Go to Organization Settings → Users, or open Team Settings → Users for the right team.
Find the user marked Unassigned.
Give them a role at the level that fits: organization, team, or project. Their access starts immediately, and they don't need a new invite.
Tip: This works well for onboarding new hires, contractors, or seasonal staff before their projects start.
View the Permission Chart
The Permission Chart shows every right a role has at the organization, team, and project levels. You can open it from three places:
When inviting a user: click the chart icon next to the role picker.
In any user table (organization, team, or project members): click the chart icon on the user's row.
On the User Roles page in Organization Settings: this shows the full chart for all roles and levels.

Note: The chart always shows a role's current permissions, so any changes to a custom role appear the next time you open it.