Getting Started With Your Document Crunch Trial
Last updated: August 13, 2026
Background
A Document Crunch trial gives you full access to the complete product — CrunchAI, Project Assist, version comparison, custom playbooks, auto-redline, and more — for a limited time and within a set number of projects. Trials are designed to let you experience the real Document Crunch product with your own documents and your own team, so you can evaluate it in the context of your actual work. There are two ways to get one: start a free trial yourself from our website, or have a Document Crunch representative set one up for you. Both give you the same full product access; they differ only in how you get started and what your limits are.
Things to Consider
How your trial started determines your limits.
Self-serve trials (started from documentcrunch.com/trial) run for 14 days and include three projects.
Trials set up by a Document Crunch representative have a duration (typically 14 days) and a project cap (3, 5, or 10 projects) chosen by your rep.
Your trial has two limits: a time limit and a project cap. Both are visible in the trial banner at the top of the app at all times.
Your limits are shared across your whole organization. Teammates you invite join your existing trial period and project cap rather than receiving their own.
There is no feature gating — you have access to everything in Document Crunch from day one. Your trial is limited by duration and project count, not by which features you can use.
There are no seat limits. You can invite as many teammates as you'd like, but invitations do not add time or projects.
No credit card is required to start a self-serve trial.
Deleted and archived projects still count toward your project cap. You cannot free up space by removing a project.
On a self-serve trial, only the duration can be extended. The three-project limit cannot be increased, and extending your trial does not reset the projects you've already used.
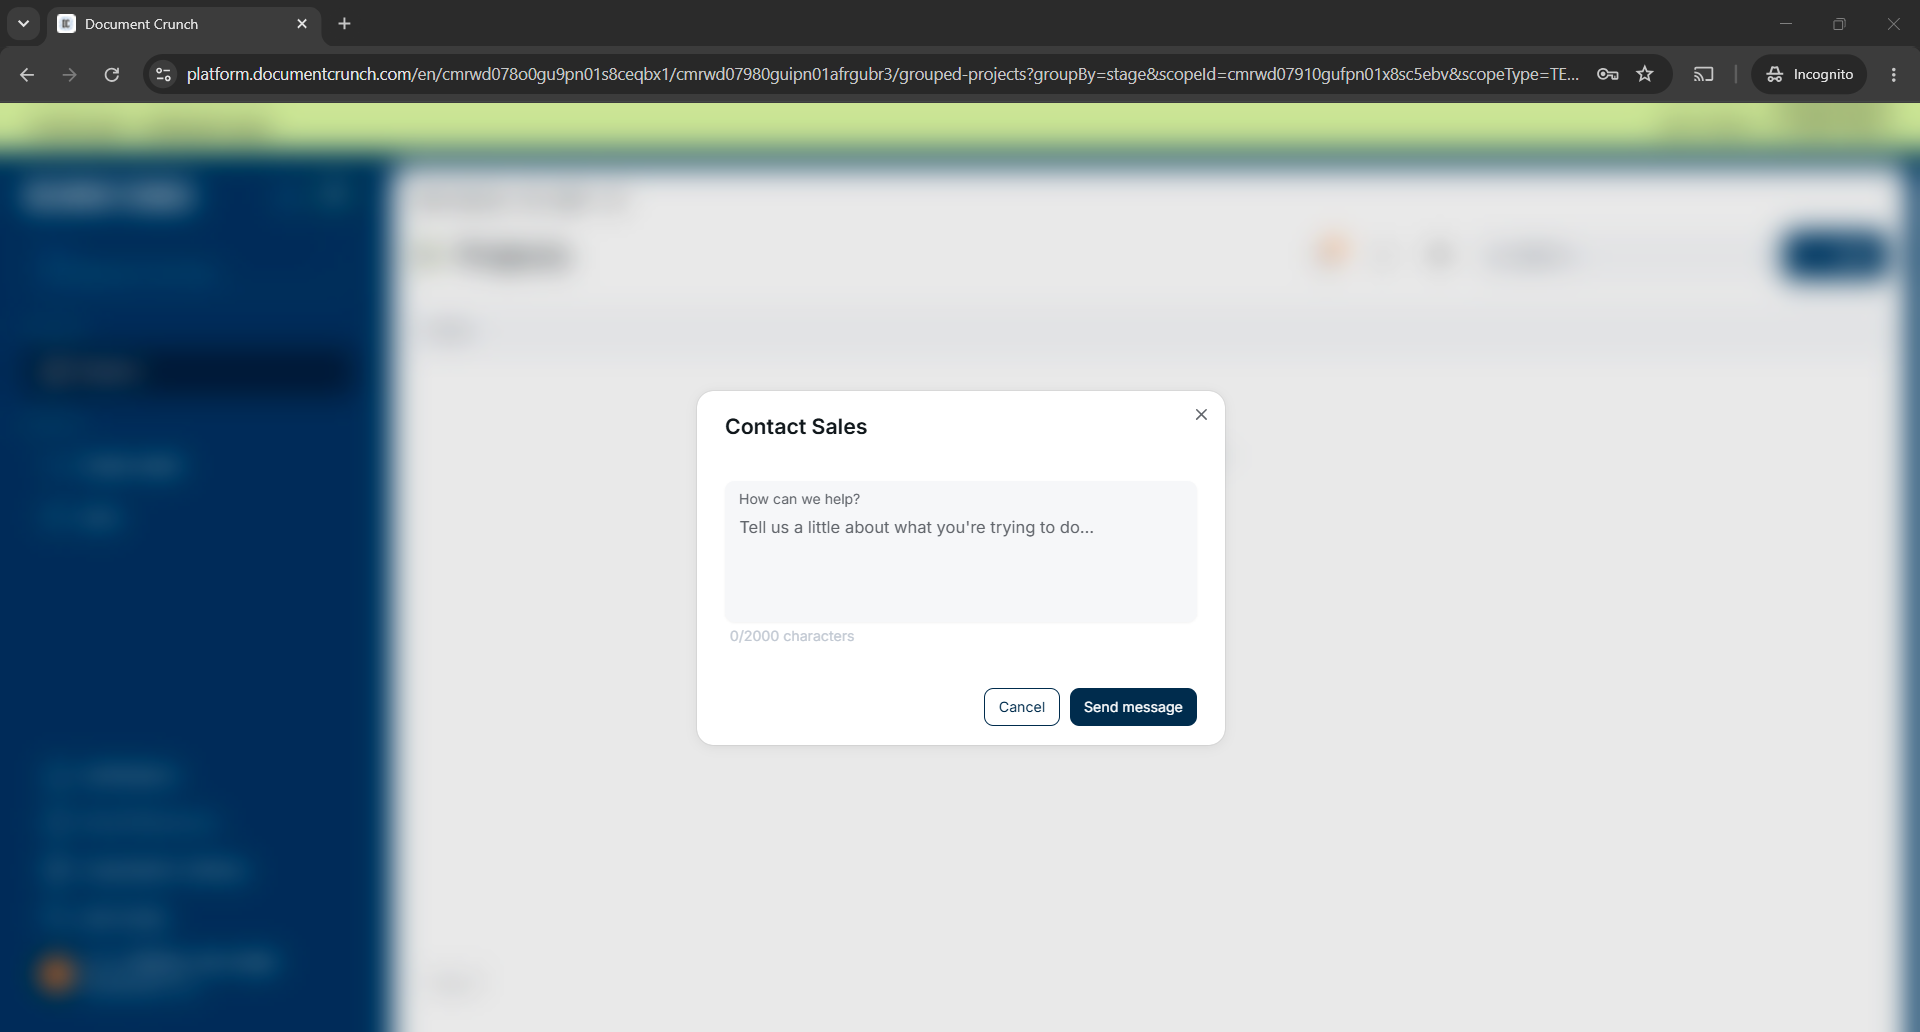
If you need more time or hit your project cap before your trial ends, click "Contact Sales" in the trial banner or reach out to your Document Crunch representative.
When your trial expires, your organization becomes read-only. You can view and download your existing work, but you cannot create new projects, upload new documents, or run new chats.
Purchases are completed through our Sales team. There is no checkout or subscription purchase inside the trial experience.
If your trial was set up by a representative and you did not receive your invitation email, check your spam or junk folder first. If it's still missing, ask your representative to resend it.
Steps
Starting a Trial From Our Website (Self-Serve)
Go to the Document Crunch trial page and submit the free trial form. You do not need to schedule a demo or speak with Sales first.
You'll be taken to a short signup page, with the information from the form prefilled where available. From here:
Select your role (optional).
Create a password.
Accept the terms.
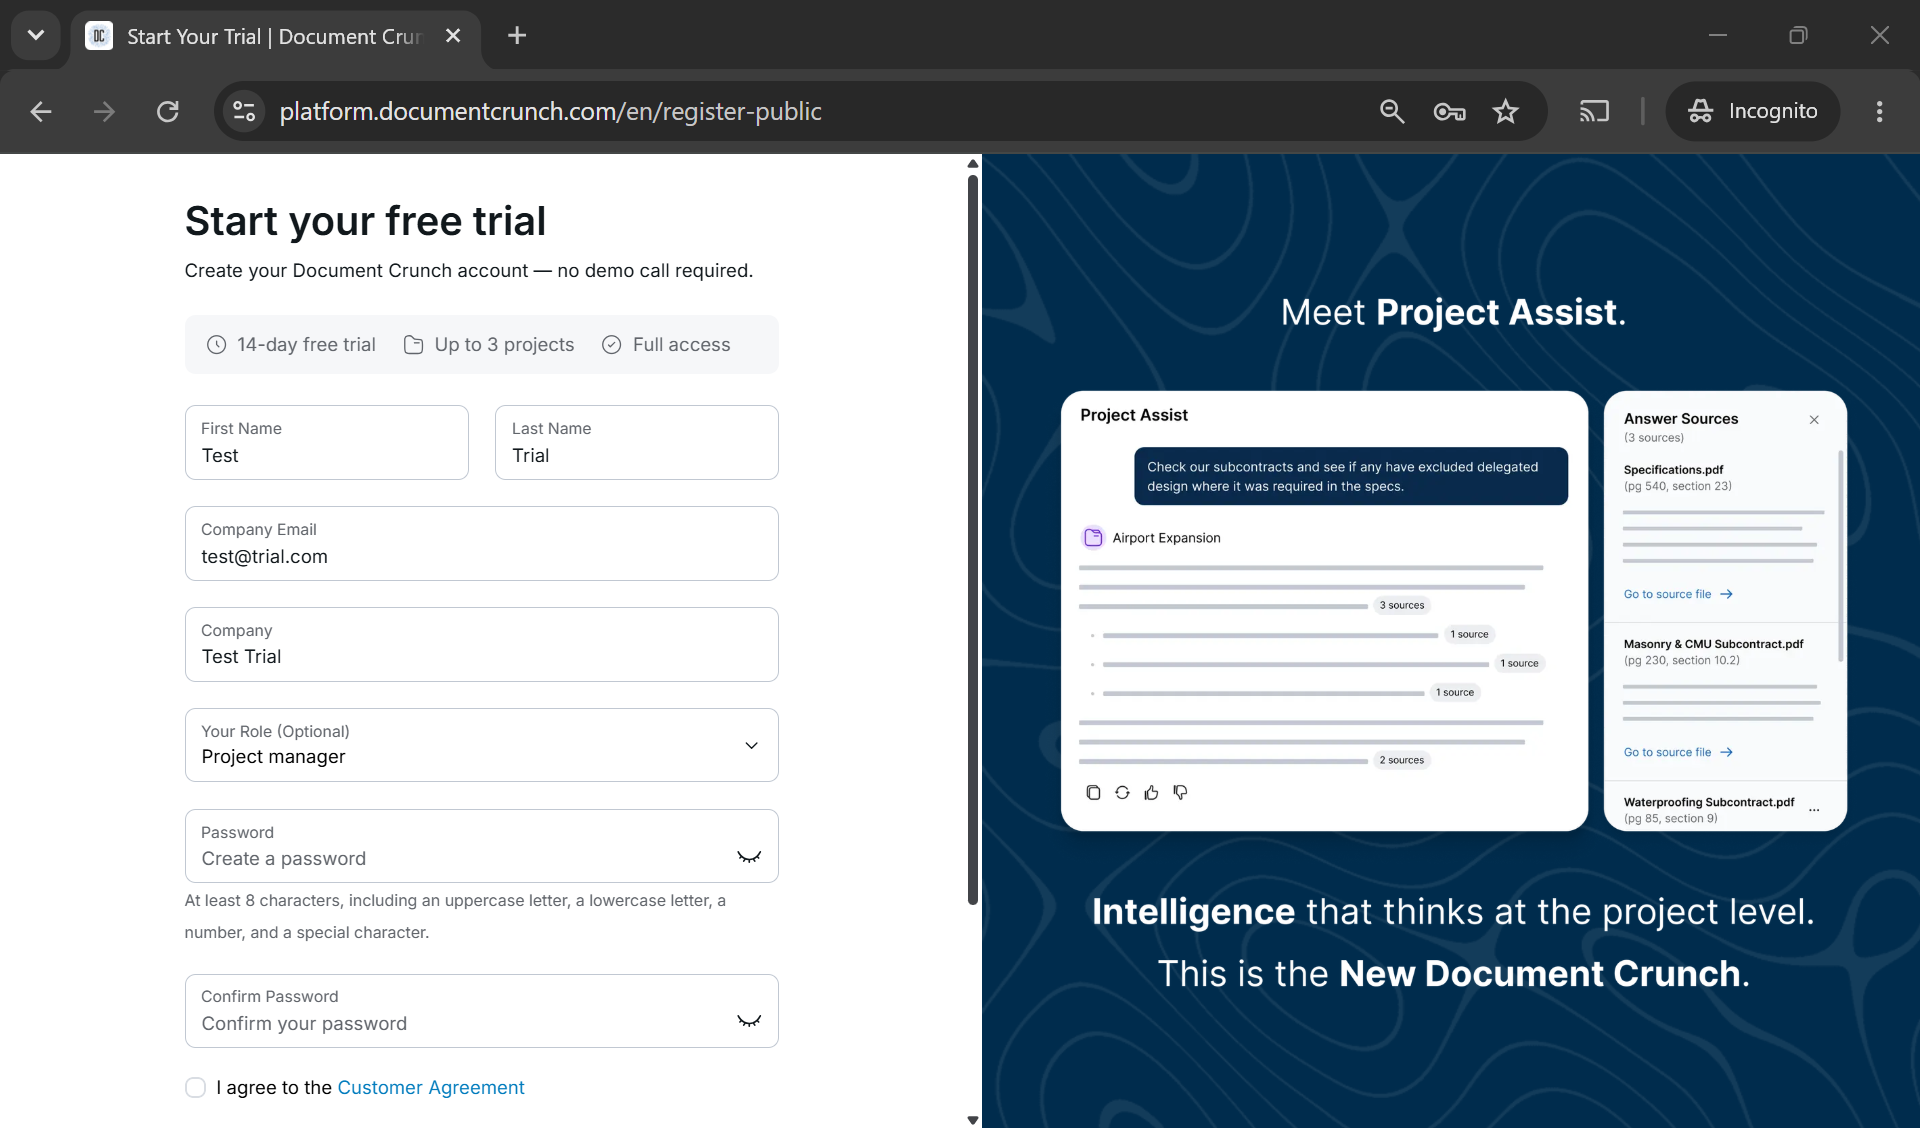
Complete the brief onboarding flow: watch the welcome video and select the workflow that best matches how you'll use Document Crunch.
You'll land on your Dashboard with a trial banner at the top showing your remaining days and projects (e.g., "14 days left in your trial · 3 projects left").
Note: Your 14 days begin when you finish signing up, not when you submit the form.
Activating a Trial Set Up by Your Representative
Open the invitation email with the subject line "Your Document Crunch trial is ready."
Click "Sign in to Document Crunch." You'll be taken to a registration page that shows who invited you.
Complete registration:
Select your role.
Set a password.
Agree to the terms of service.
Complete the brief onboarding flow: watch the welcome video and select the workflow that best matches how you'll use Document Crunch.
You'll land on your Dashboard with a trial banner at the top showing your remaining time and projects.
Tip! However your trial started, you can click "Contact Sales" in the trial banner at any time to reach the Document Crunch team about extending your trial or converting to a paid subscription.
Creating Your First Project
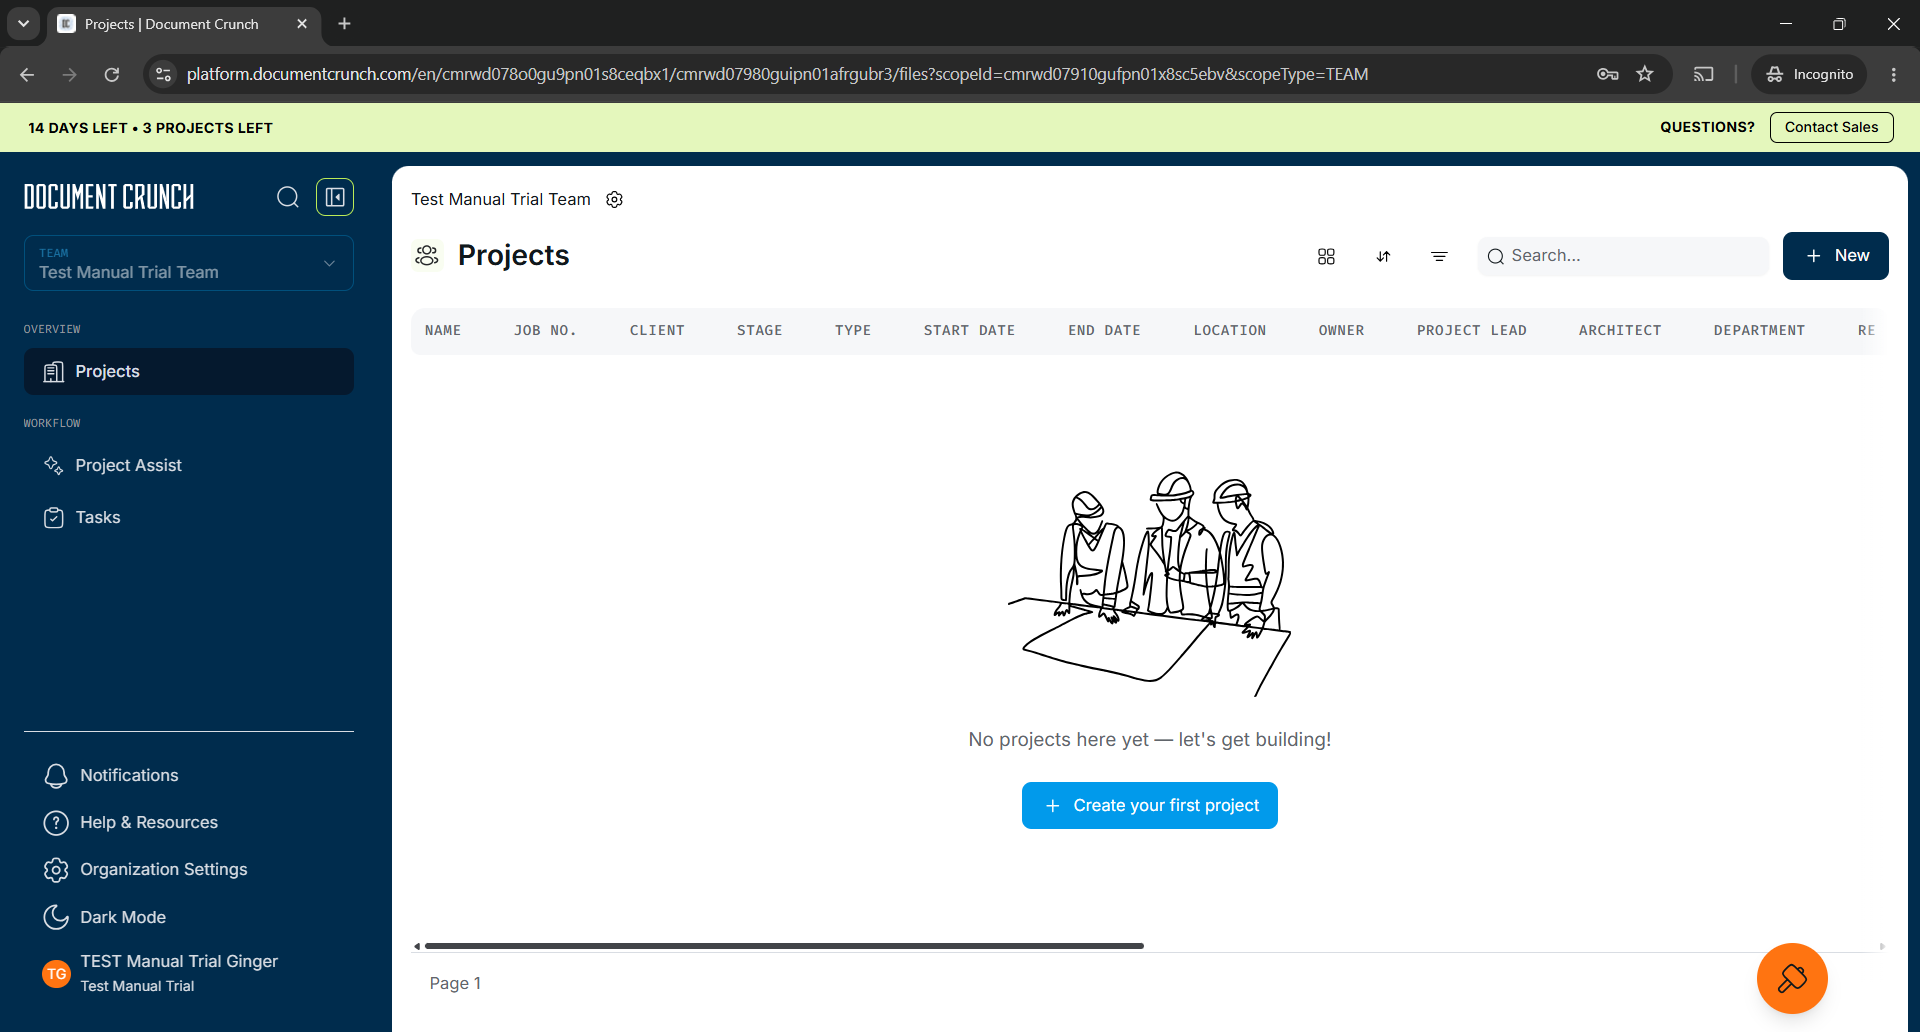
From your Dashboard, click the +New button.
Name your project and configure it as needed.
Upload your document(s) — supported file types are .pdf, .doc, and .docx (up to 500MB and 3,000 pages per file).
Select your Solution Type (e.g., Project Assist, Playbook, Comprehensive Review).
Click to start processing. You will see an In Progress icon next to your project on the Dashboard.
Note:
You will receive an email when your project is ready. The In Progress icon will disappear once processing is complete.
Every project you create counts toward your organization's project cap, including projects created by your teammates. Because deleted and archived projects also count, it's worth deciding what you most want to evaluate before you start uploading.
Chatting With Your Documents
There are a few ways to start a chat, depending on where you are in the product and what you want to ask about.
Option 1: Open Project Assist from the left panel
Open Project Assist in the left panel.
Select the project and the document(s) you want to chat with, then click Apply.
Start chatting.
Option 2: Open Project Assist from within a project
Open a project from your Dashboard.
Click Project Assist in the upper right.
Select the document(s) you want to include, then click Apply.
Start chatting.
Option 3: Chat within a specific document
Open a document from within a project.
Click Chat in the upper right corner.
Start chatting — your questions apply to that document.Tip! For best results when chatting with your document, you will want to:
Be specific about the clause or issue: clearly identify the section of the contract or type of risk you want to analyze (e.g., indemnity, delay, or payment terms).
Use relevant context: include project details, such as the type of construction, location, or contractual relationship (e.g., general contractor vs. subcontractor).
Ask targeted questions: frame questions to address specific concerns, like potential liability, compliance requirements, or dispute resolution mechanisms.
Iterate and refine: if the AI's response doesn't fully address your concern, clarify the request or add details.
Inviting Your Team
From your Dashboard, navigate to your Organization settings > Users tab, or use the + button from within a project at the top of the page.
Enter your teammate's email address and select their permission level.
They will receive an invitation to join your trial organization.
Note:
Depending on internal security systems, invitations can be routed to spam, promotions, or junk folders.
Everyone you invite shares your trial period and project cap. Inviting teammates does not extend your trial or add projects.
Tip! Inviting your team is encouraged — there are no seat limits, and more team members using the trial gives everyone a chance to evaluate the platform together.
Tracking Your Trial Usage
Check the trial banner at the top of the app at any time to see your remaining days and projects.
When your trial is approaching its limits, you'll receive expiration notifications.
To request more time or convert to a paid subscription, click "Contact Sales" in the trial banner. If a Document Crunch representative set up your trial, you can also reach out to them directly.
Note: On a self-serve trial, extension requests apply to your duration only — the three-project limit cannot be increased, and extending your trial does not reset the projects you've already used.
What Happens When Your Trial Ends
When your trial expires:
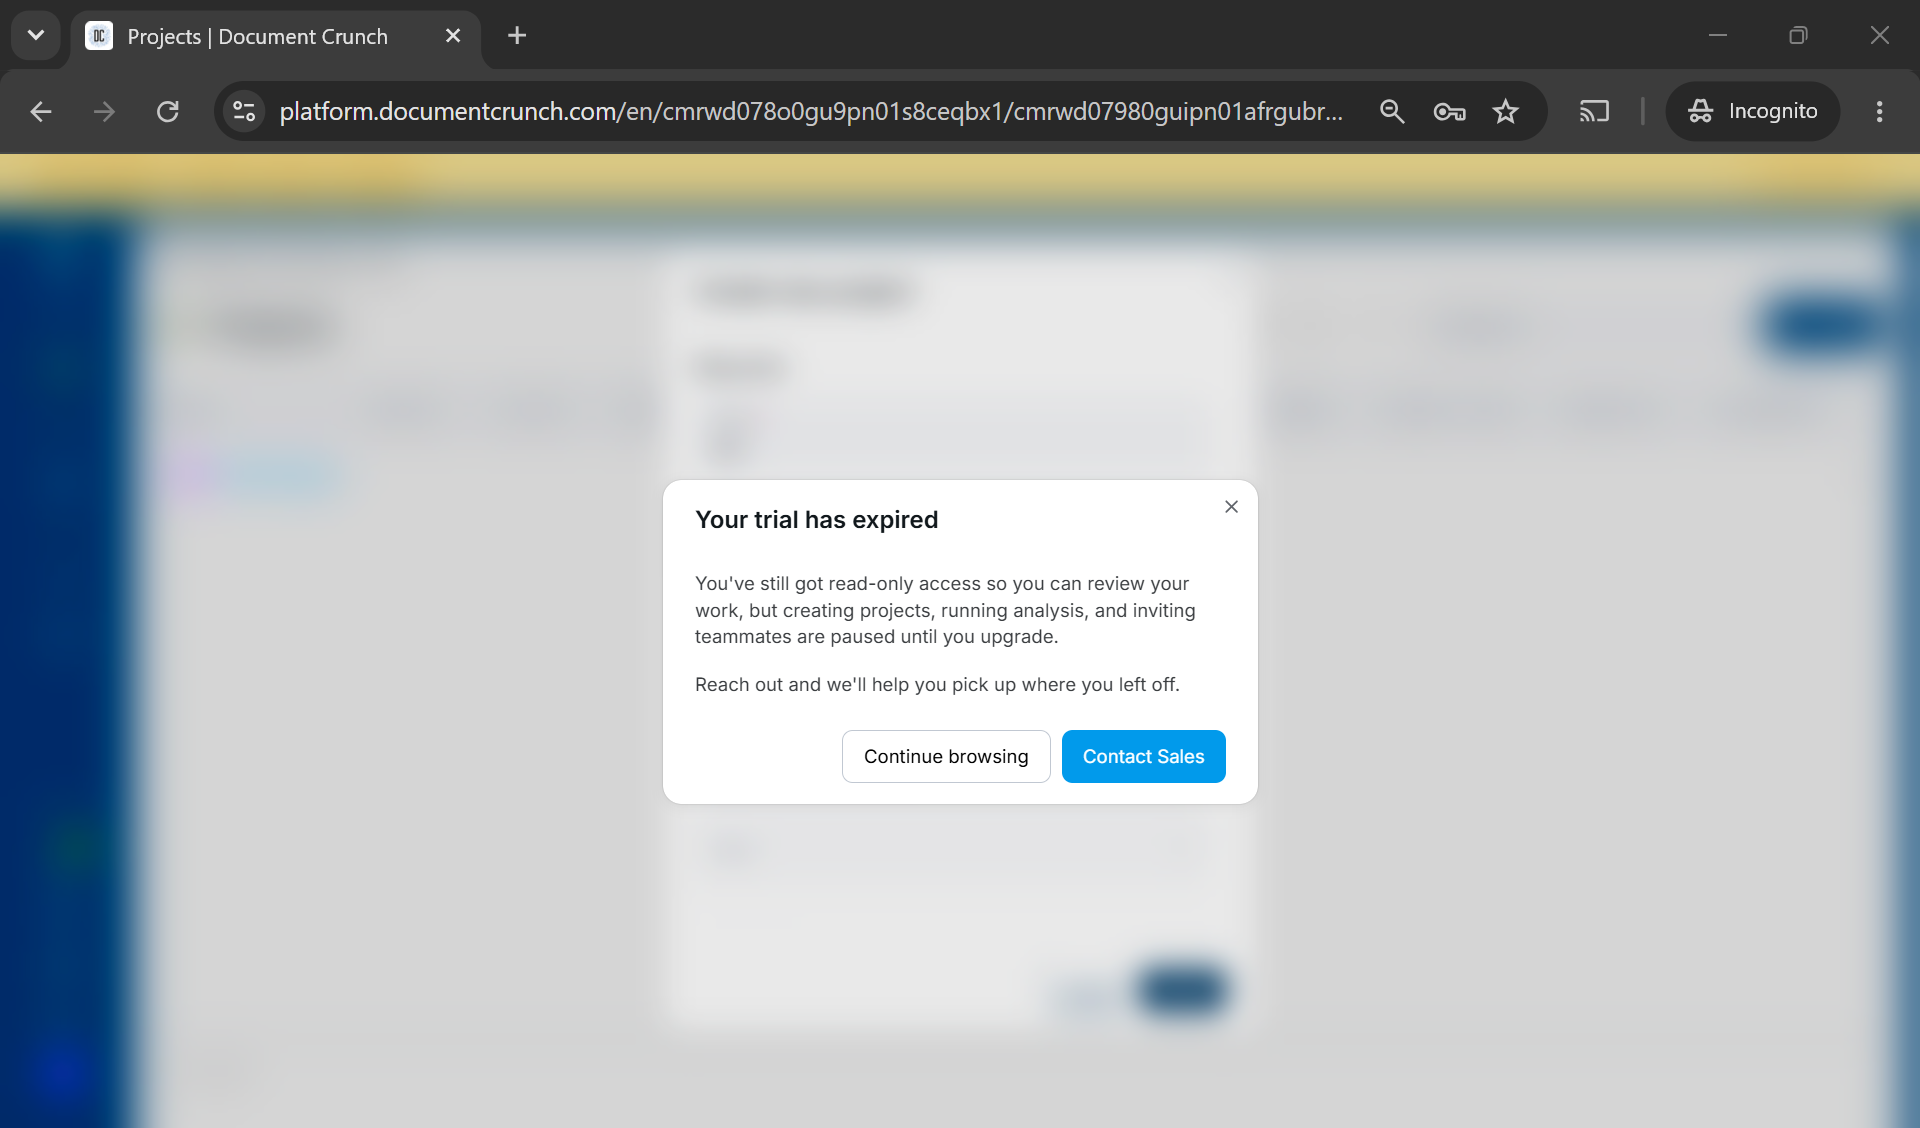
Your organization becomes read-only.
You can still view and download all your existing projects, documents, and results.
You cannot create new projects, upload new documents, or run new chats.
To regain full access, click "Contact Sales" in the trial banner (or contact your Document Crunch representative) to extend your trial or convert to a paid subscription.
For additional resources, check out our help site: help.documentcrunch.com
Have questions? Reach our support team at support@documentcrunch.com